
The moment I saw this house I knew I wanted to tear down the wall between the dining room and kitchen. I love open floor plans and if I'm in the kitchen I want to be able to see at least part of the house and not feel like I'm stuck in one room.
The wall we are tearing down is the purple/green wall (see picture below). At this point I had already painted over the crazy colors. I painted a primer so we have to pick colors and paint all the walls, but that is for another post. This view is from the front door looking left into the dining room. The kitchen is behind the purple wall.
I will show you the before and after pictures first (so you can compare) and then show you the progress!

View of the kitchen from the dining room.

View from kitchen to dining room

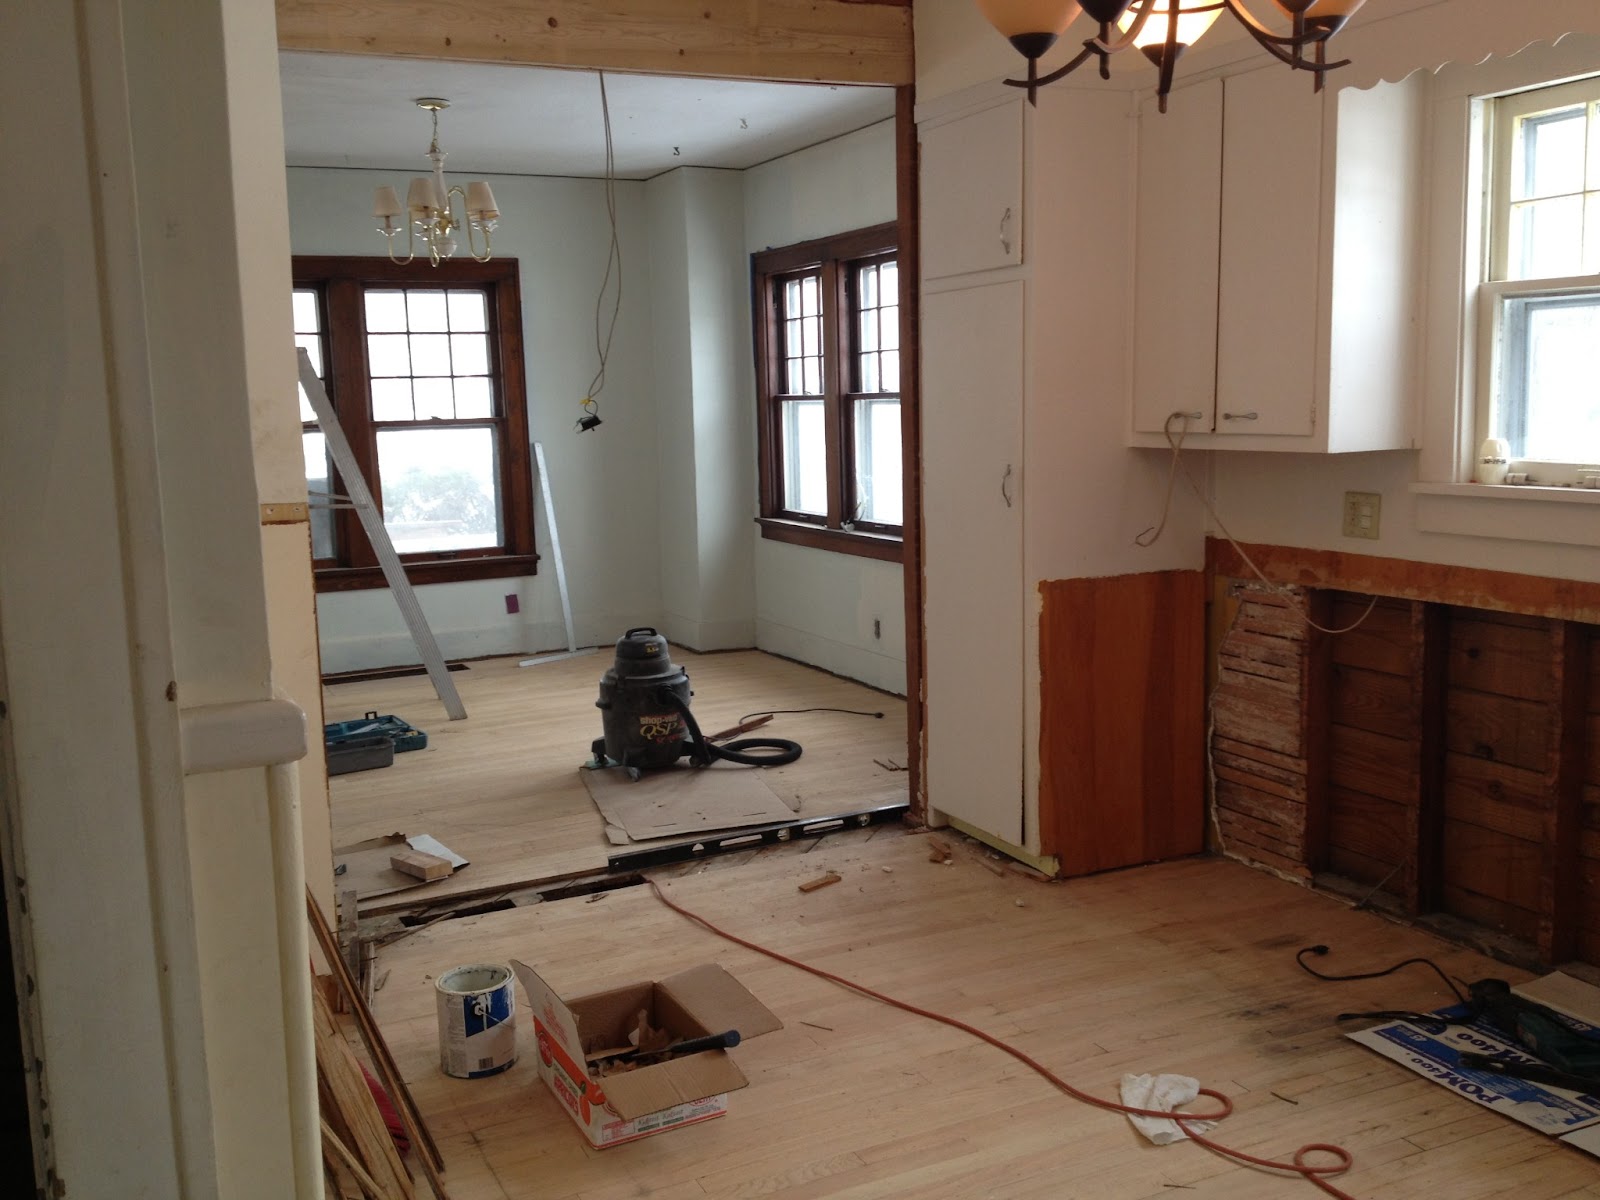
Progress:
Pulling the plaster off and prying the boards off. I took twice the amount of time I should of taken, but I got it done eventually! :P

Dusty work.

While taking the wall down we discovered a heat duct was in the wall going to the second floor. So we took the duct out and will move it to the left of the door frame.


New view from dining room! We love the exposed brick from the old hidden fireplace, but the brick work isn't very pretty, we might need to figure out a way to clean it up a bit.

Before picture from kitchen to dining room:
After

There you go! Next house post will probably be about our floor saga...
The wall we are tearing down is the purple/green wall (see picture below). At this point I had already painted over the crazy colors. I painted a primer so we have to pick colors and paint all the walls, but that is for another post. This view is from the front door looking left into the dining room. The kitchen is behind the purple wall.
I will show you the before and after pictures first (so you can compare) and then show you the progress!

View of the kitchen from the dining room.

View from kitchen to dining room

Pulling the plaster off and prying the boards off. I took twice the amount of time I should of taken, but I got it done eventually! :P

Dusty work.

While taking the wall down we discovered a heat duct was in the wall going to the second floor. So we took the duct out and will move it to the left of the door frame.

Overall this was a pretty easy task, quite basic, it just took
some time. It really is amazing how pulling down a wall can make such a big
difference. One important thing to think about if you want to tear down a wall
is whether or not it is load-bearing. You don't want to tear down a wall
and have the top floor end up sagging down (or even collapse over time!)
because there isn't enough support anymore. This wall was load-bearing, so as
you can see in the after picture below, there is a new beam up above the
opening. I wasn't around to document this but my brother and dad had to support
the wall with 2x4's going from the floor to the celling to hold it up
and then added the beam above. So, if you are tearing a wall down please talk
to someone who knows what they are doing.
A note from Aurelien: A complication we encountered after we had
put the new beam up in place was that I noticed that the floor under the left
frame was sagging noticeably! In investigating the matter, it turned out that the door frame had not been directly on top of a cross beam in the basement as we had assumed. This was a mistake from a previous remodel. Thus the new beam we had placed to support the 2nd floor was not being
properly supported on one end in the basement! To fix this we had to jack
up the floor from the basement and layer some 2x4's between the foundation and
the floor to give it the support it needed.
Okay, time for the after pictures! As you might notice in the
after pictures the floors have been sanded down, but that is for another
post.
Once again, the before, so you can compare. :

New view from dining room! We love the exposed brick from the old hidden fireplace, but the brick work isn't very pretty, we might need to figure out a way to clean it up a bit.

Before picture from kitchen to dining room:
After
There you go! Next house post will probably be about our floor saga...
Love it! Good idea to tear down the wall.
ReplyDeleteNice work, A! Really fun to see this happen.
ReplyDelete